
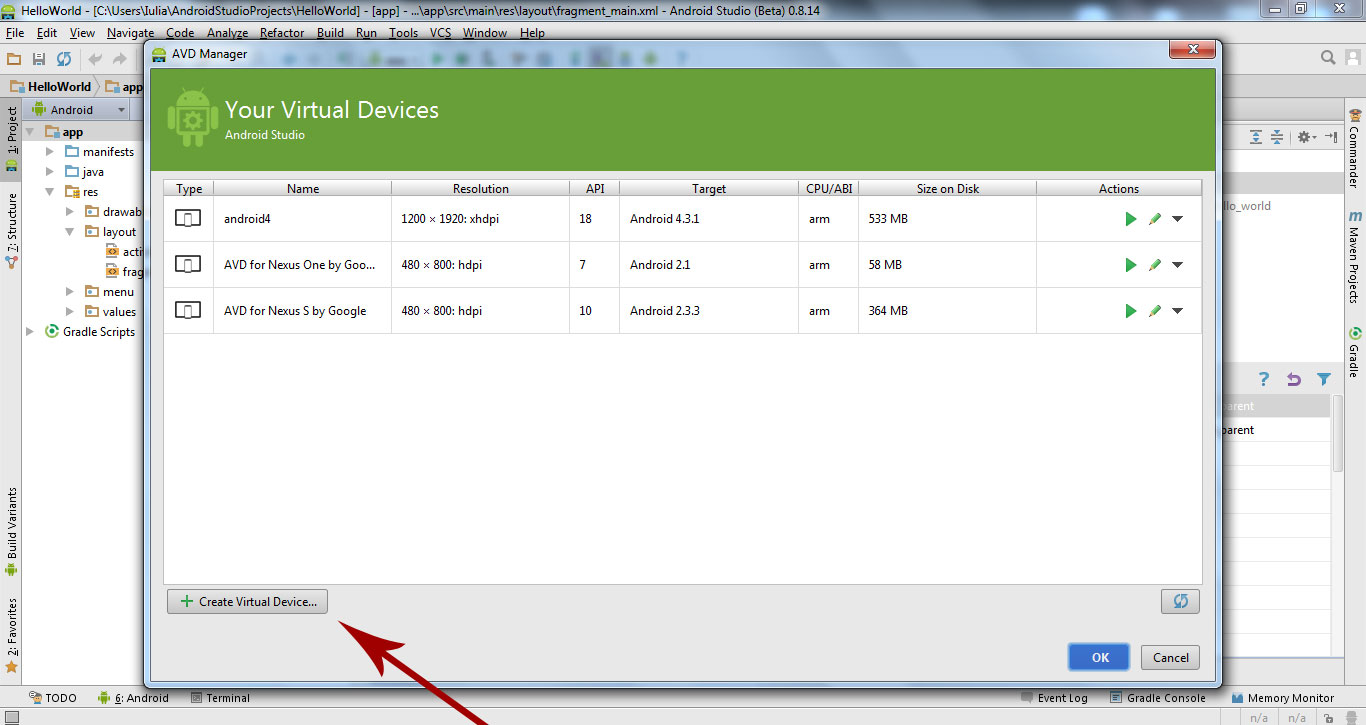
 Next click on Create Virtual Device.
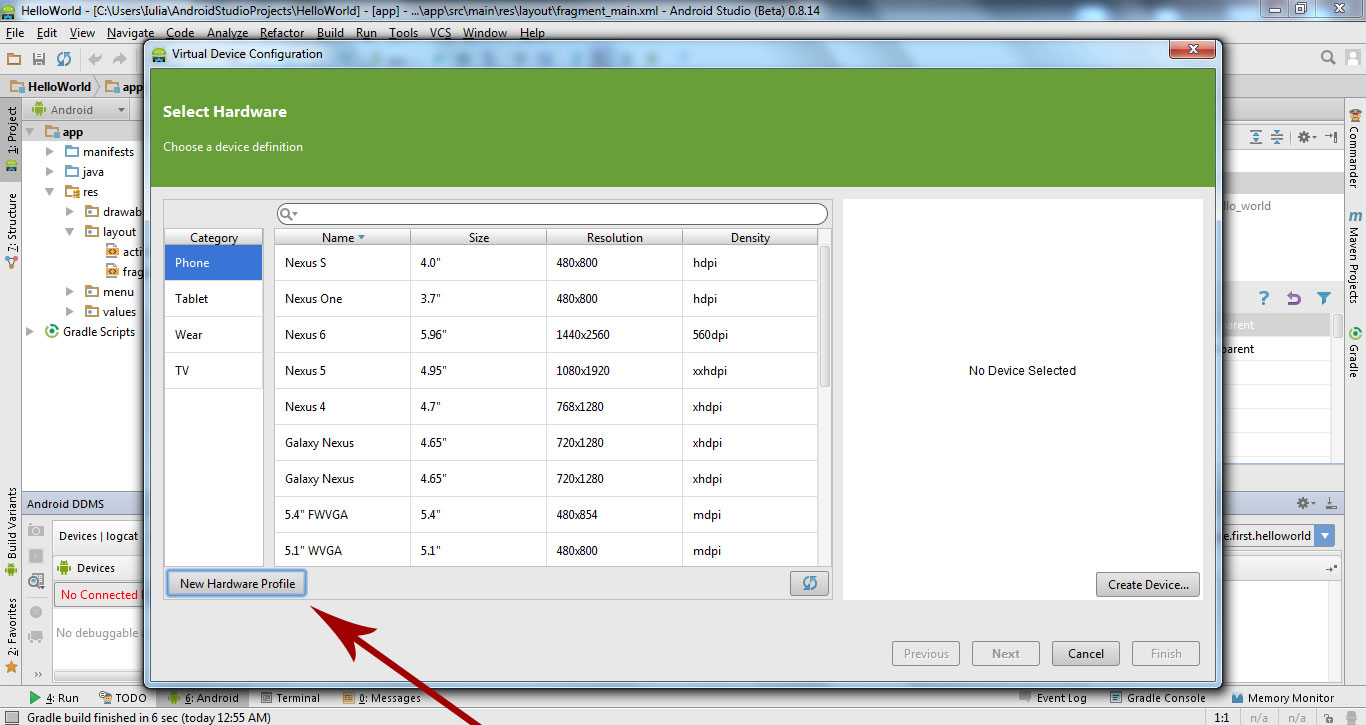
 In next window we choose New Hardware Profile.
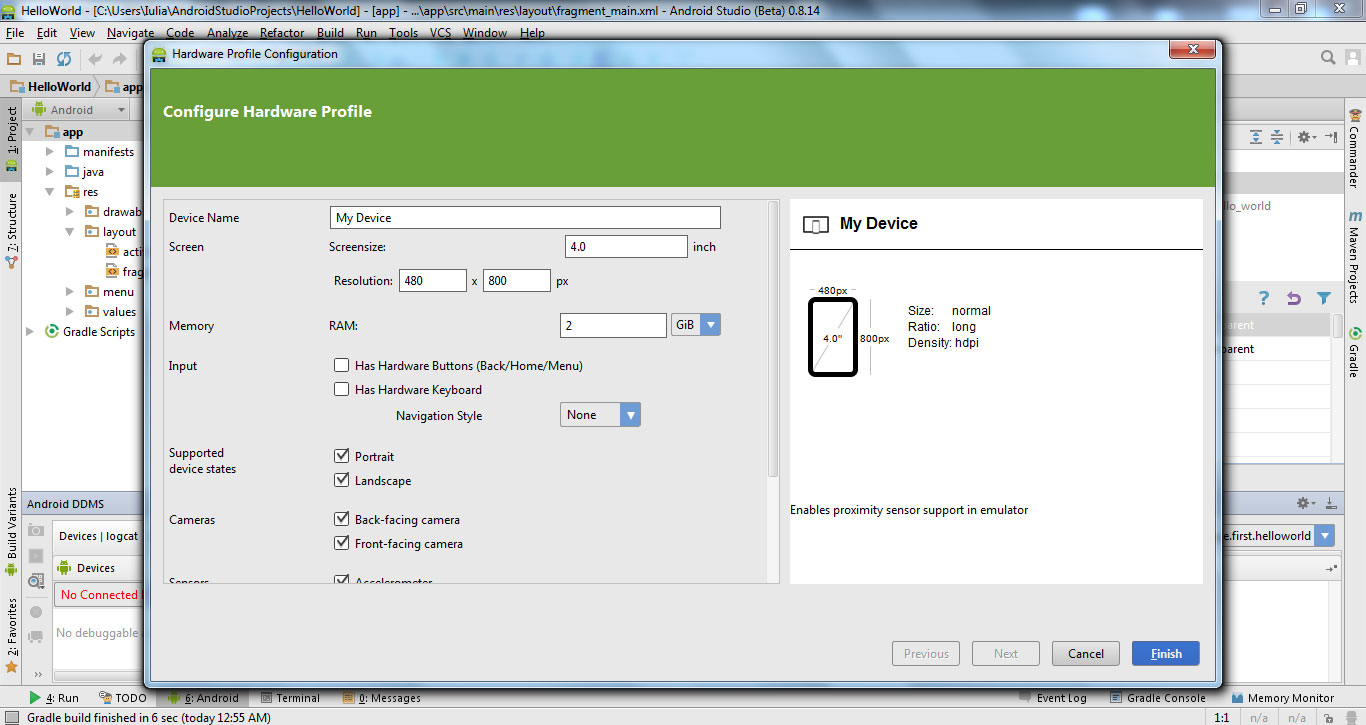
 In next window write on Device Name: My Device and click on finish.
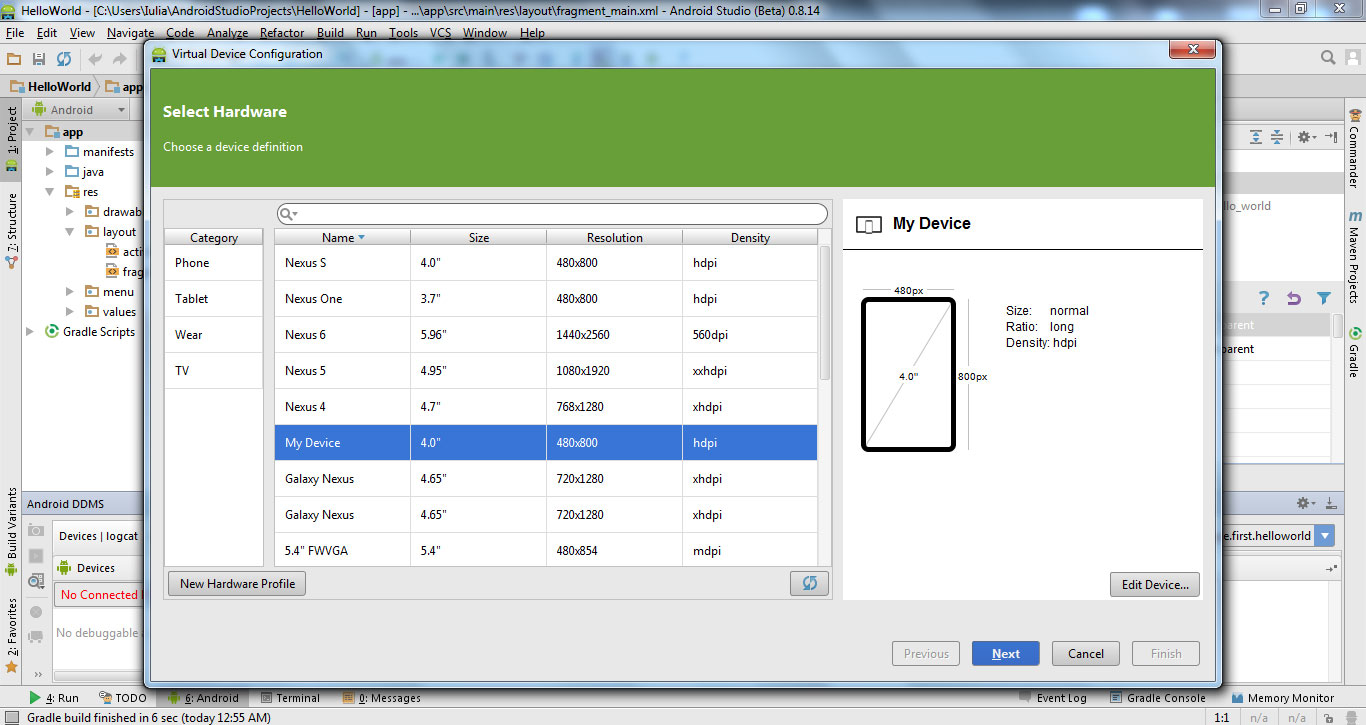
 In open window we select our device: My Device and click Next.
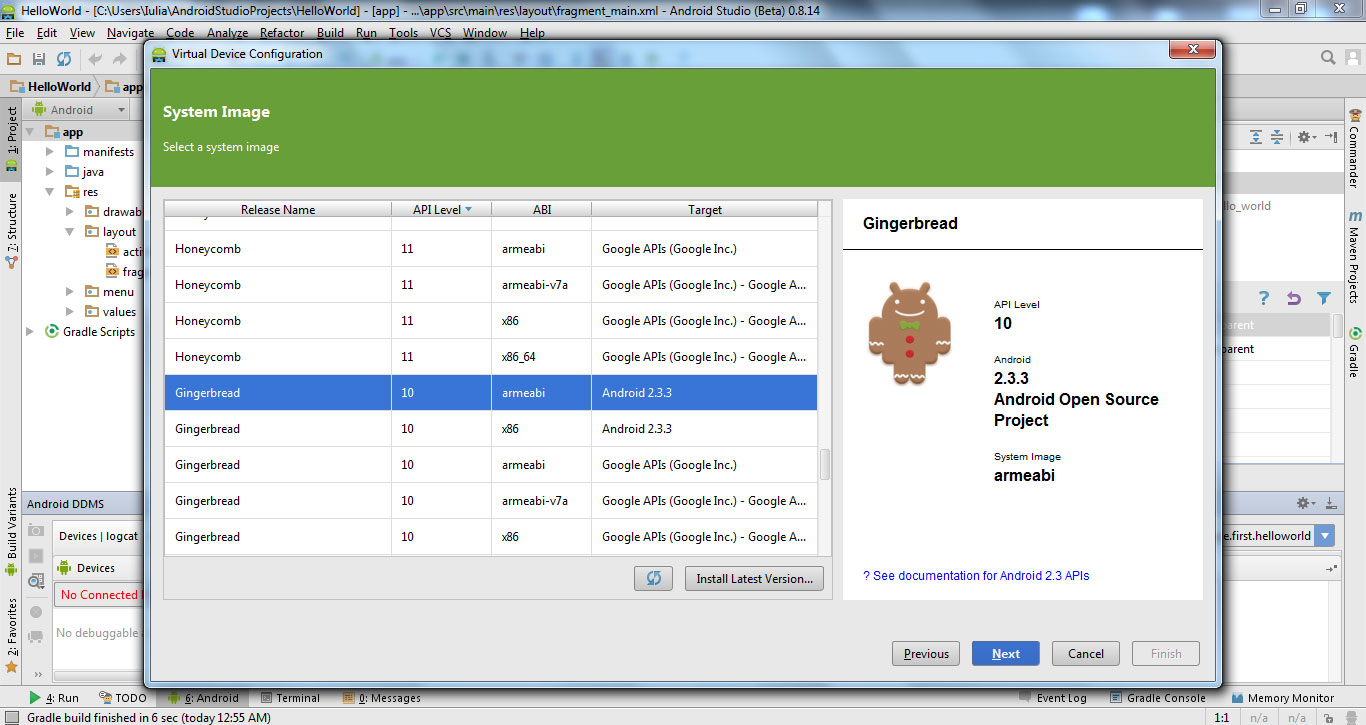
 In next open window we choose API Level: 10 and click Next.
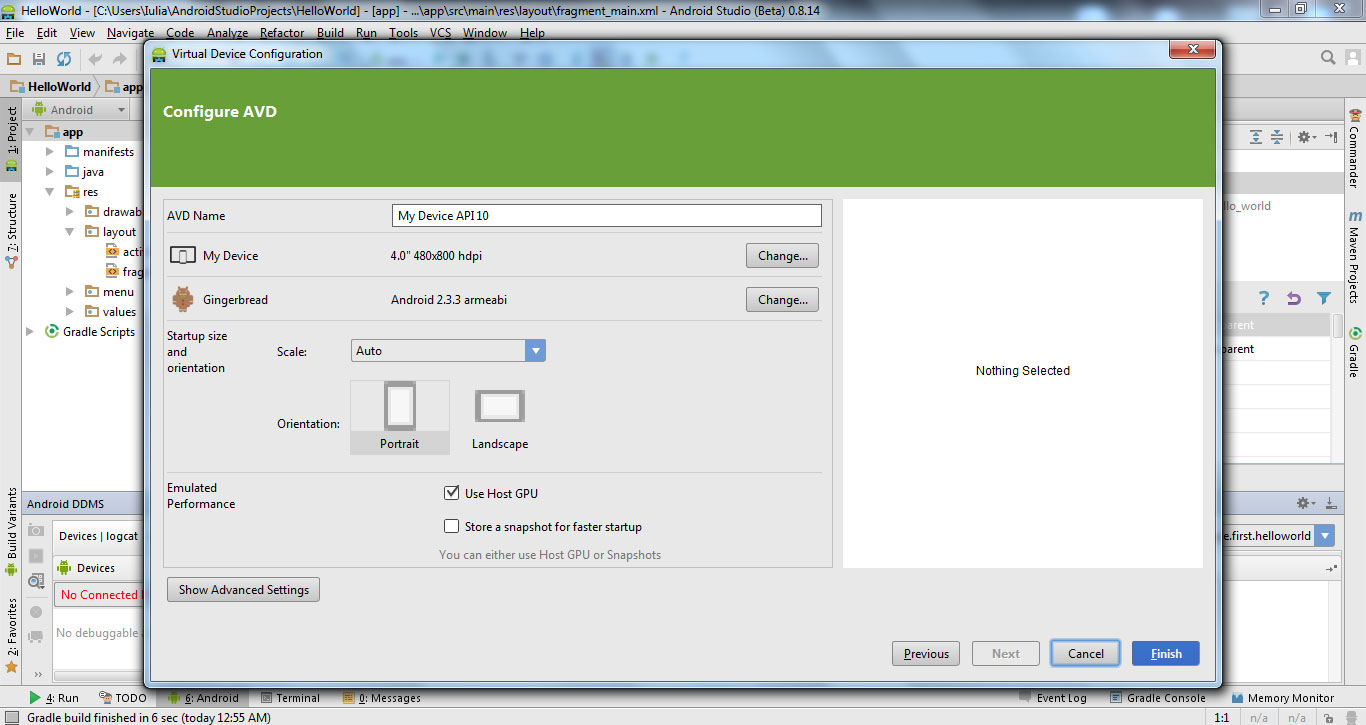
 Use the default options for next open window and click Finish.
 We select our device from next window and click Launch this AVD in the emulator.
 Our emulator (virtual mobile) will open.
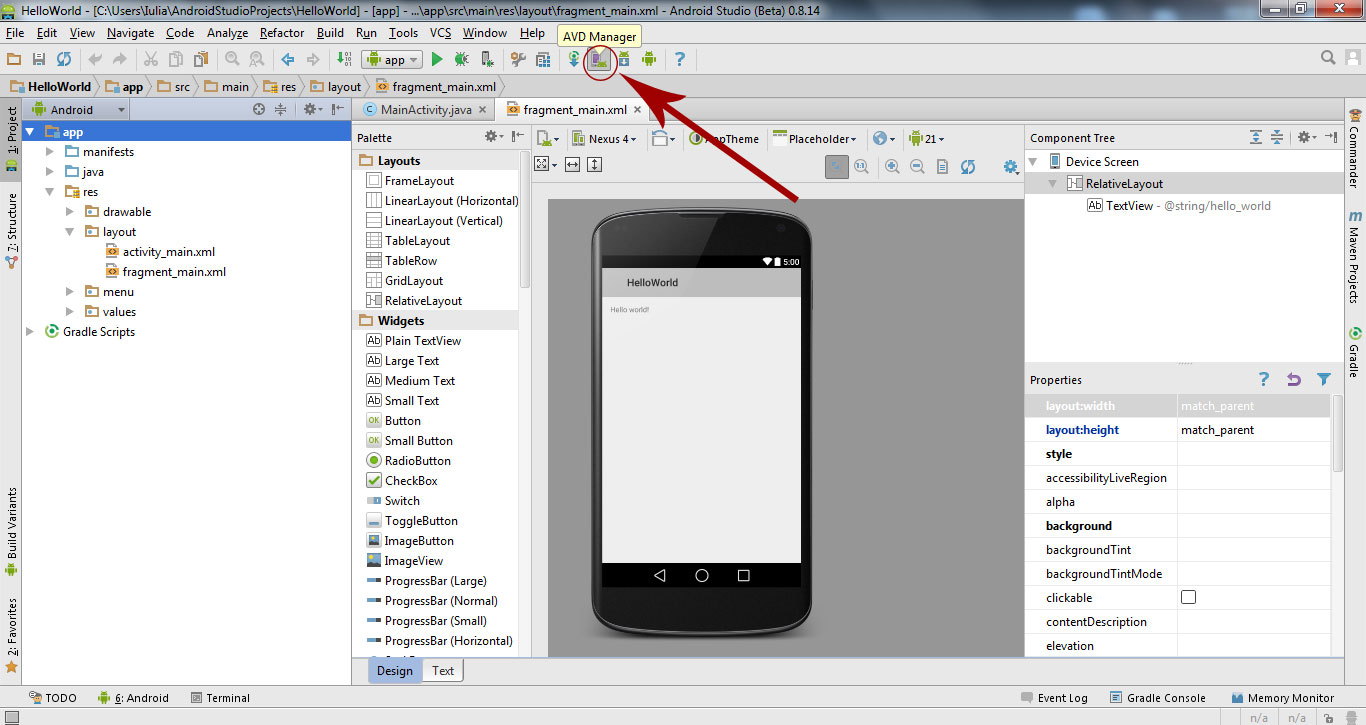
 If we want to run our application using our emulator we click on Run ‘app’ icon.
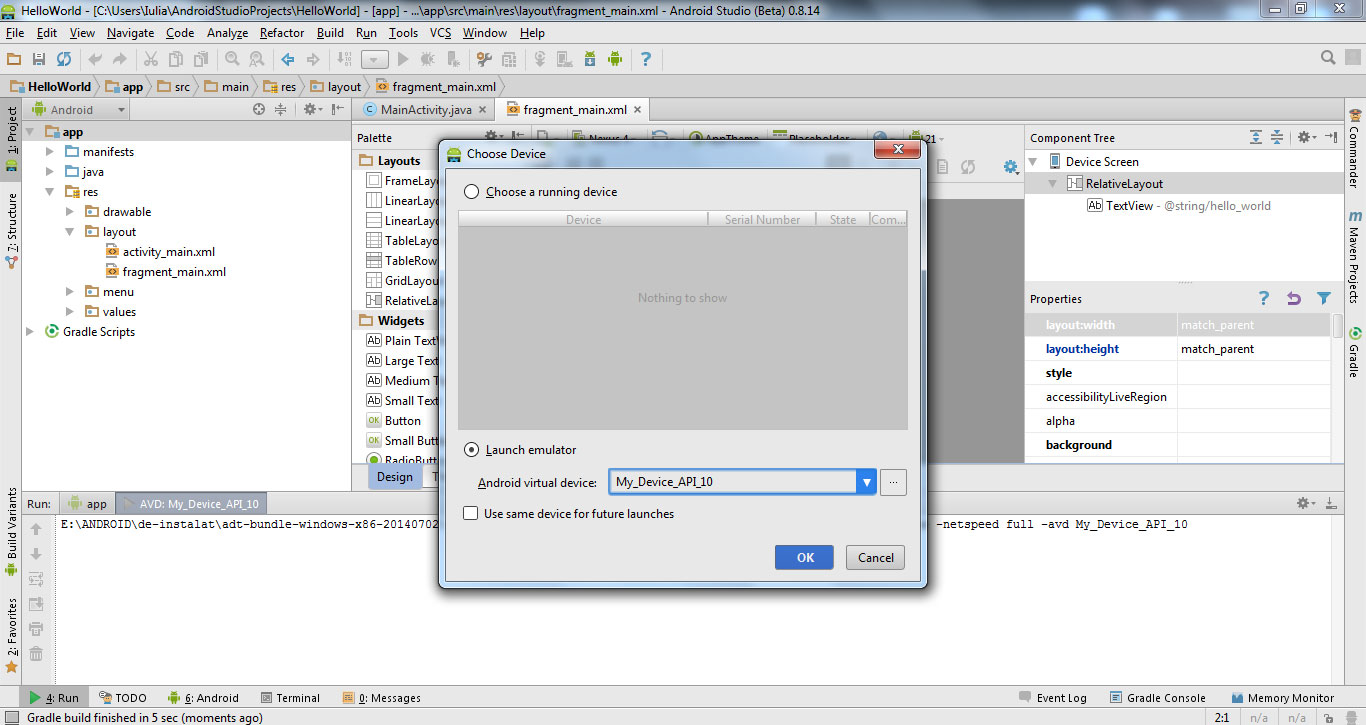
 Then choose to Launch our emulator and click OK.
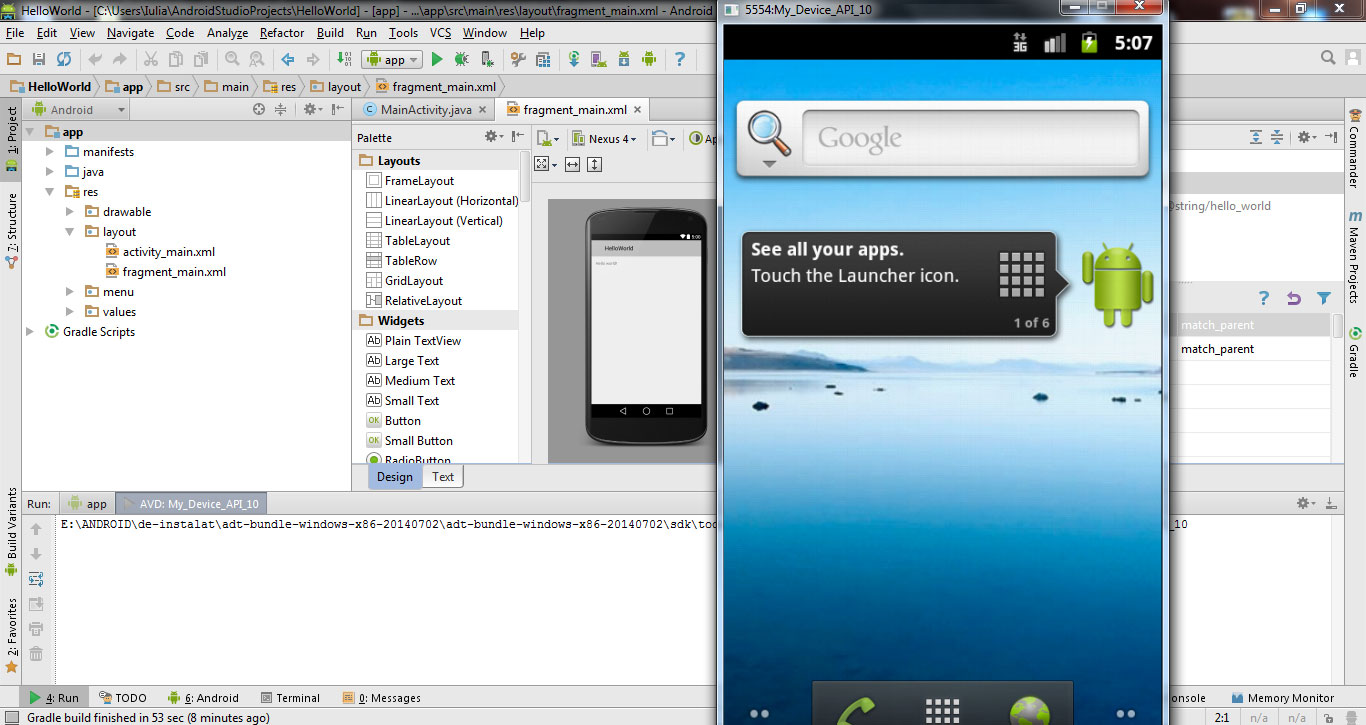
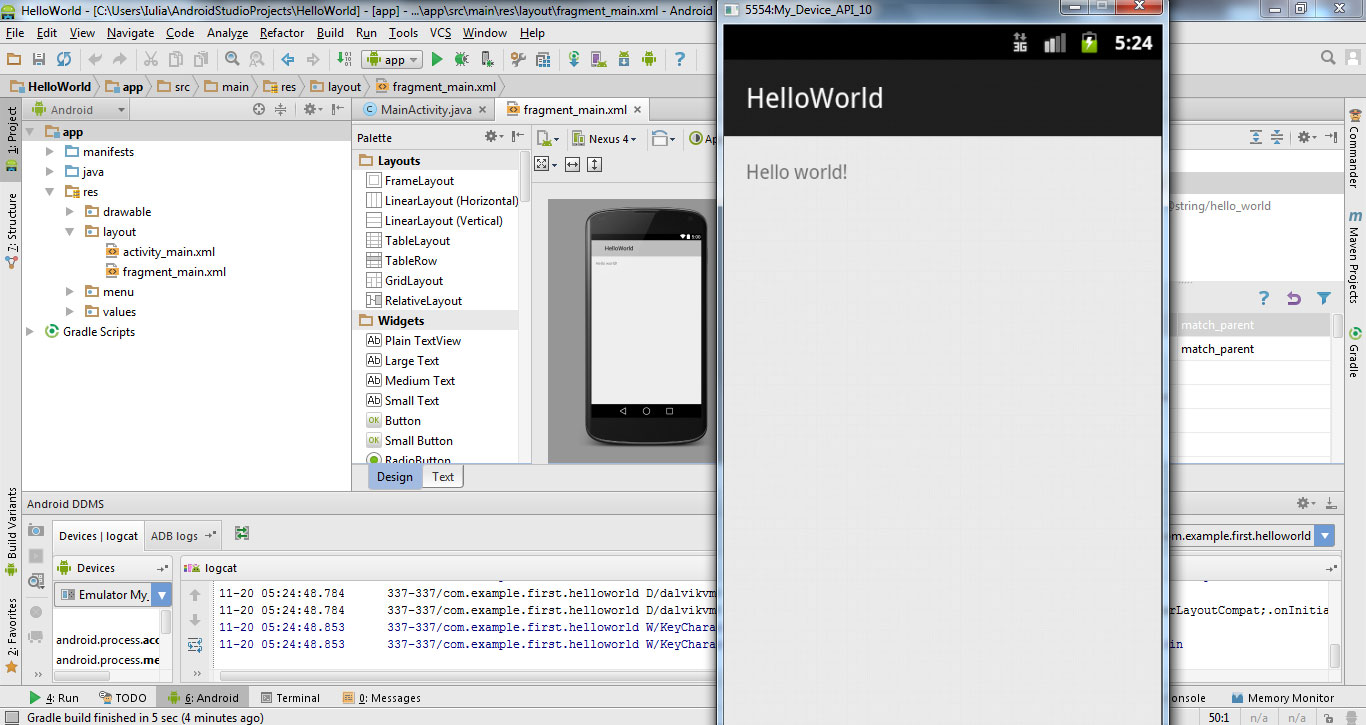
 Now our app run on emulator created.
 Watch the video tutorial to create your emulator device in Android Studio:
See in next tutorial how to export your app for installing on mobile devices.
For further questions leave a message.
Cannot launch AVD in emulator.
Output:
[11488]:ERROR:./android/qt/qt_setup.cpp:28:Qt library not found at C:\Users\DELL\AppData\Local\Android\Sdk\emulator\lib64\qt\lib
Could not launch ‘C:\Users\DELL\AppData\Local\Android\Sdk\emulator/qemu/windows-x86_64/qemu-system-armel.exe’: No such file or directory